Complete Study Abroad Checklist for Indian Students
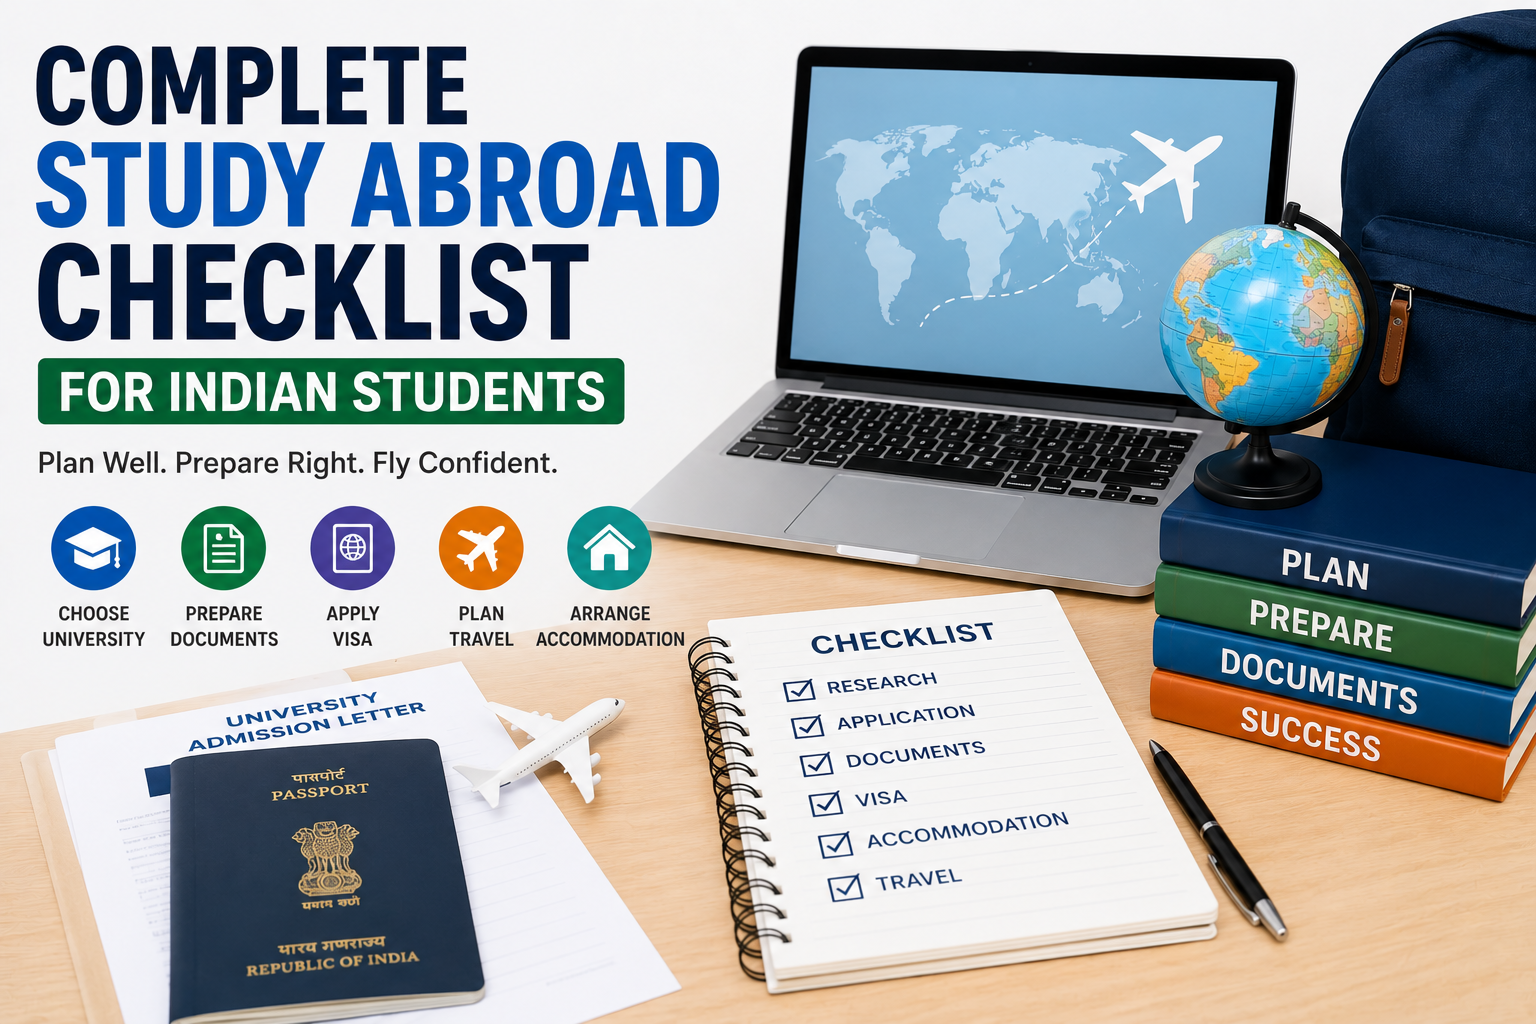
Complete Study Abroad Checklist for Indian Students – Step-by-Step Guide
Studying abroad is an exciting milestone, but the application process involves much more than simply choosing a university.
Students need to manage:
- University selection
- Entrance requirements
- Language tests
- Application documents
- Visa process
- Financial planning
- Accommodation
- Travel arrangements
Missing even one important step can delay your admission or visa process.
This complete checklist will help you stay organized from the beginning of your study abroad journey until the day you leave India.
Phase 1: Define Your Goals
Before applying anywhere, ask yourself:
- What do I want to study?
- Which country matches my career goals?
- Do I want research-oriented or industry-focused education?
- What is my budget?
- Do I plan to work after graduation?
Having clear answers makes university selection much easier.
Phase 2: Choose the Right Country
Compare countries based on:
- Education quality
- Tuition fees
- Living expenses
- Scholarships
- Post-study work opportunities
- Visa policies
- Job market
- Language requirements
Popular destinations include:
- Germany
- United Kingdom
- Canada
- Australia
- United States
- Ireland
- New Zealand
- France
- Netherlands
- Sweden
Choose a country that fits both your academic and financial goals.
Phase 3: Research Universities
Prepare a balanced university list.
Include:
Dream Universities
Highly competitive institutions where admission is challenging.
Target Universities
Universities where your profile matches the average admitted student.
Safe Universities
Universities where your chances of admission are relatively strong.
Always check:
- Course curriculum
- Admission requirements
- Tuition fees
- Application deadlines
- Scholarship options
Phase 4: Check Eligibility
Review the admission requirements carefully.
Common requirements include:
- Bachelor's degree
- Minimum academic performance
- Required prerequisite subjects
- English language proficiency
- Portfolio (for some programs)
- Work experience (if applicable)
Never assume all universities have the same eligibility criteria.
Phase 5: Prepare for English Language Tests
Depending on the university, you may need:
- IELTS
- TOEFL
- PTE Academic
- Duolingo English Test (where accepted)
Schedule your exam early so your scores are available before application deadlines.
Phase 6: Prepare Important Documents
Create digital and printed copies of:
✅ Passport
✅ Academic transcripts
✅ Degree certificate
✅ Semester mark sheets
✅ Resume (CV)
✅ Statement of Purpose (SOP)
✅ Letters of Recommendation (LORs)
✅ English language test scores
✅ Internship certificates
✅ Work experience letters (if applicable)
✅ Research papers (if applicable)
✅ Project portfolio (if required)
Keep scanned copies organized in cloud storage for easy access.
Phase 7: Build a Strong Student Profile
Strengthen your application with:
- Internships
- Academic projects
- Research experience
- Professional certifications
- Leadership activities
- Volunteering
- Technical skills
A well-rounded profile often stands out more than grades alone.
Phase 8: Apply to Universities
While applying:
✔ Complete every section carefully.
✔ Upload the correct documents.
✔ Double-check spelling and personal information.
✔ Submit applications before deadlines.
Keep a record of:
- Application ID
- Login credentials
- Submission date
- Application status
Phase 9: Track Your Applications
Create a spreadsheet containing:
- University name
- Program
- Application status
- Deadline
- Offer received
- Required follow-up actions
Tracking applications helps you avoid missing important updates.
Phase 10: Accept Your Admission Offer
After receiving admission offers:
Compare:
- Tuition fees
- Course content
- University ranking
- Internship opportunities
- Scholarship availability
- Career prospects
- Location
- Living costs
Accept the offer that best matches your goals.
Phase 11: Arrange Your Finances
Calculate:
- Tuition fees
- Living expenses
- Health insurance
- Visa fees
- Flight costs
- Emergency funds
Explore:
- Scholarships
- Education loans
- Family funding
- Assistantships (where available)
Good financial planning reduces stress later.
Phase 12: Apply for Your Student Visa
Prepare documents such as:
- Admission letter
- Passport
- Financial proof
- Visa application form
- Photographs
- Health insurance
- English language scores (if required)
Follow the official visa guidelines for your destination country.
Phase 13: Arrange Accommodation
Choose accommodation before traveling.
Options include:
- University residence halls
- Private apartments
- Shared accommodation
- Homestays
- Student housing providers
Compare:
- Rent
- Distance from campus
- Public transportation
- Safety
- Included facilities
Phase 14: Book Your Flight
Book your ticket after:
- Receiving your visa
- Confirming your enrollment
- Finalizing accommodation
Booking early often provides better prices.
Phase 15: Purchase Health Insurance
Many countries require international students to have health insurance.
Check:
- University requirements
- Government regulations
- Coverage details
Ensure your insurance is valid for your destination.
Phase 16: Prepare for Departure
Pack essential documents:
- Passport
- Visa
- Admission letter
- Accommodation details
- Flight tickets
- Insurance documents
- Emergency contacts
- Financial documents
Carry important documents in your cabin baggage.
Phase 17: Learn About Your Destination
Before arriving, understand:
- Local transportation
- Weather
- Banking system
- SIM card options
- Emergency numbers
- Public transport
- Cultural etiquette
Being prepared helps you settle in quickly.
Phase 18: Complete University Enrollment
After arrival:
- Attend orientation
- Register for courses
- Collect your student ID
- Open a bank account (if needed)
- Activate your university email
- Meet international student advisors
These steps officially begin your academic journey.
Common Mistakes Students Make
Missing Deadlines
Always apply well before the deadline.
Ignoring Official University Instructions
Read every email carefully and follow the university's guidance.
Poor Financial Planning
Budget for tuition, living expenses, and unexpected costs.
Waiting Too Long for Visa Applications
Visa processing times can vary, so apply as soon as you're eligible.
Forgetting Important Documents
Keep multiple digital and physical copies of essential documents.
Quick Study Abroad Checklist
Before leaving India, make sure you have:
✅ Passport
✅ University Admission Letter
✅ Student Visa
✅ Tuition Payment Confirmation (if applicable)
✅ Accommodation Confirmation
✅ Health Insurance
✅ Flight Tickets
✅ Academic Documents
✅ Resume
✅ Emergency Contacts
✅ Local Currency or International Payment Method
✅ Copies of Important Documents
If everything on this list is complete, you're well prepared for your study abroad journey.
Final Conclusion
Studying abroad involves careful planning, but following a structured checklist can make the entire process much more manageable.
Start your preparations early, stay organized, and verify all information through official university and government sources.
A well-planned application not only reduces stress but also increases your confidence as you begin your international education journey.
Remember:
Success in studying abroad doesn't begin on your first day at university—it begins with careful planning months before you board your flight.
Verified by Edulx Germany Specialists
Have questions about your profile or APS verification? Book a free 1-on-1 session with our Pune counsellors.